How to hang your print correctly
How to hang your print correctly
- by Nathan Lamb
- February 07, 2021
- 4 min read
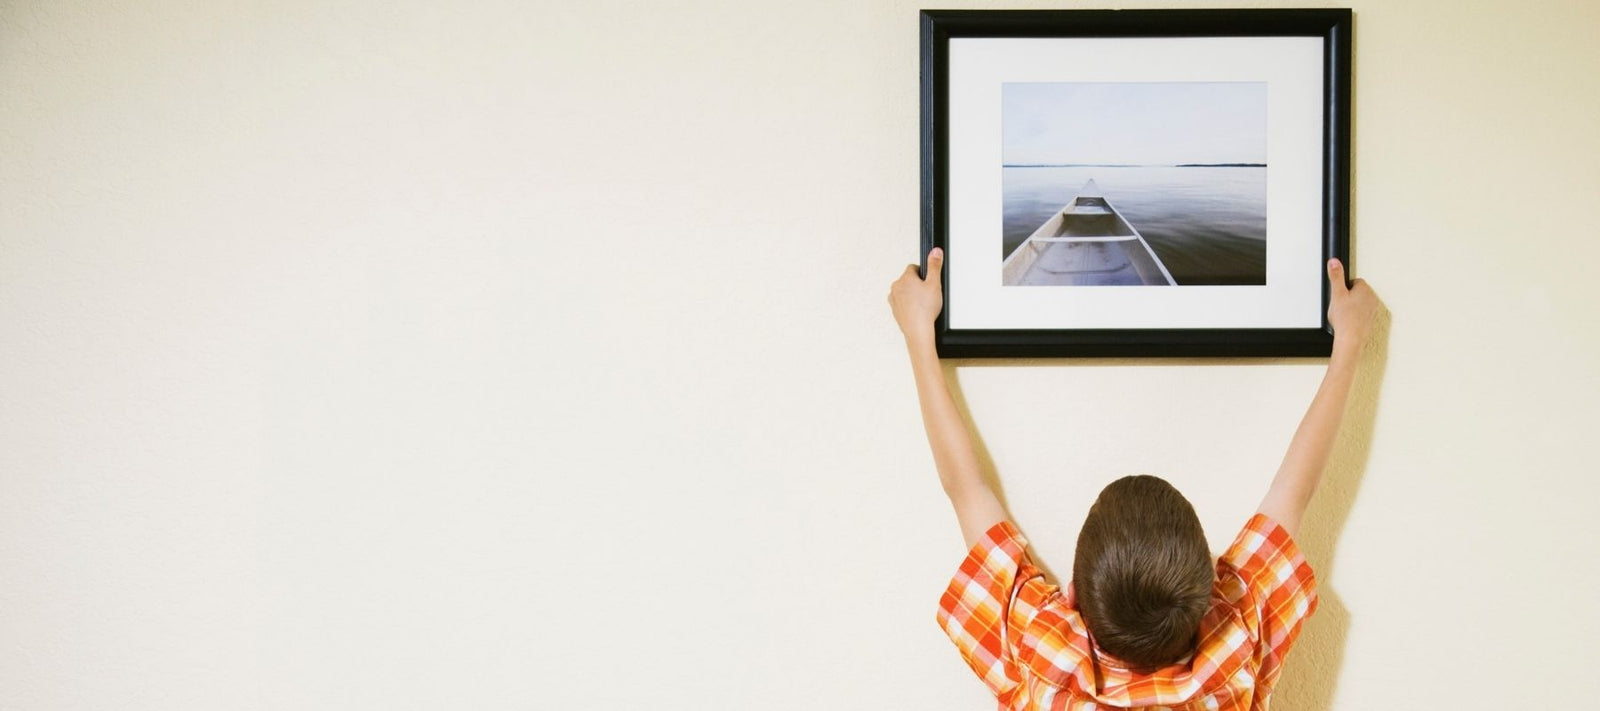
Now that you have chosen a print, picked the perfect frame all that remains is to secure in pride of place on your wall. Here's our step-by-step guide on everything you need to know about how to hang a frame.
Recommended tools for the job
- Hammer
- Pencil
- Tape measure
- Screwdriver
- Power drill if you have masonry walls
- Spirit level
- Wall fixing suitable for your wall type
Choose the perfect wall position
Unless you have a large frame or a wanting a super minimalist look its best to avoid hanging your art in empty spaces so try to place pieces above a piece of furniture or feature, such as a table, sofa or fireplace. One of the biggest mistakes people make is to hang art to high or too low, art prints look great at eye level, that's why museums and galleries hang their art with the centre of the image point at between 60 and 65 inches from the floor.
Where possible avoid hanging your print on newly plastered or decorated walls as moisture may be transferred onto the frame. To prolong the life of the print you should also avoid areas of potentially high humidity, for example bathrooms.
Measure the frame hardware position
Frames can come with a variety of hanging hardware. The most common way to hang a frame is by a hanging cord but some larger frames come with metal hangers. To measure, lay the frame flat and measure the distance between your hanger and the top of the frame. If you have a hanging cord make sure you pull it taut first.
Our framed prints up to one metre square come with a hanging cord. Extra-large items are fitted with one or two hangers, depending on the frame size and weight. The serrated hanger has been specially designed so you can adjust the final hanging position both vertically (by slackening the screws) and horizontally.
Mark the fixing position on your wall
Next you need to make a mark where the fixings will go, a friend comes in handy here. Hold the frame up to the wall and make a pencil mark at the top corners of your frame.
If your frame has a hanging cord, you need to make a second mark in the middle of the first
Next, transfer your hardware measurements (from the previous step) on to the wall. Measure down from the pencil markings you've just made, so you now have the exact spot where your hanging fixing will go.
Choose and insert the right fixing for your wall type
Different wall types require different fixings. Knock on the wall or use a stud detector to find out what type of wall you're dealing with. A hollow sound indicates a cavity or stud wall (also known as a drywall) consisting of a wooden, brick or metal frame with plasterboard panels on top. A solid sound suggests your wall is a masonry wall, made from brick, breeze-block, concrete or stone.
Cavity/Stud Walls
The issue of knowing what you are drilling into is particularly important when working with cavity walls, which can conceal all sorts of things you wont want to drill through. To avoid hitting something damaging to you or your home, work out if where you want to hang the picture is actually suitable. You can do this with a bit of common sense for example if your dealing with a bit of plasterboard filling a space you can't explain (eg, of an unusual width jutting out from the wall) then it's probably has at least a pipe inside so try not to drill here! Never drill above or below light switches or plug sockets, where electric cables may be concealed. Use an electronic tester to check before drilling.
To find a stud you can tap on the cavity wall - there will be a more hollow sound between timbers. Note also that the vertical timbers are regularly spaced, starting at the two edges of each wall or as I normally do you can use a small magnet to locate the screws in the studs to secure your screws.
If you cant find a stud or their in the wrong place you can use a plasterboard fixture, we recommend grip its (bigger hole but will never move once in) or Fischer plasterboard fixings.
Masonry Walls
The key issue here is that the wall is very hard, and thus unreceptive to nails being banged in hopefully with a hammer, or screws that haven't had a pilot hole created first. Your only option is a powerful drill. For the hardest walls, that means one with a hammer action, trust me on this if you've got a decent set of tools, the world is instantly a much happier place.
Dig out one of those brightly coloured plastic wallplugs and a screw big enough to hold the weight of your picture, then drill a hole of commensurate size in the wall. Push in the wallplug (Again we recommend Fischer), make sure it is flush with the wall and tightly embedded (not rattling around in the hole), then insert the screw. Easy.
Note: As before never drill above or below light switches or plug sockets, where electric cables may be concealed. Use an electronic tester to check before drilling.


